|
<< Click to Display Table of Contents >> IBM Watson IOT |
  
|
|
<< Click to Display Table of Contents >> IBM Watson IOT |
|
IBM Cloud is a variety of different services. In this example we'll require only one service - Watson IoT. In the given example TeslaSCADA2 Runtime reads data from Modbus device and sends them to IBM Cloud via MQTT protocol in JSON format by using MQTT publisher.
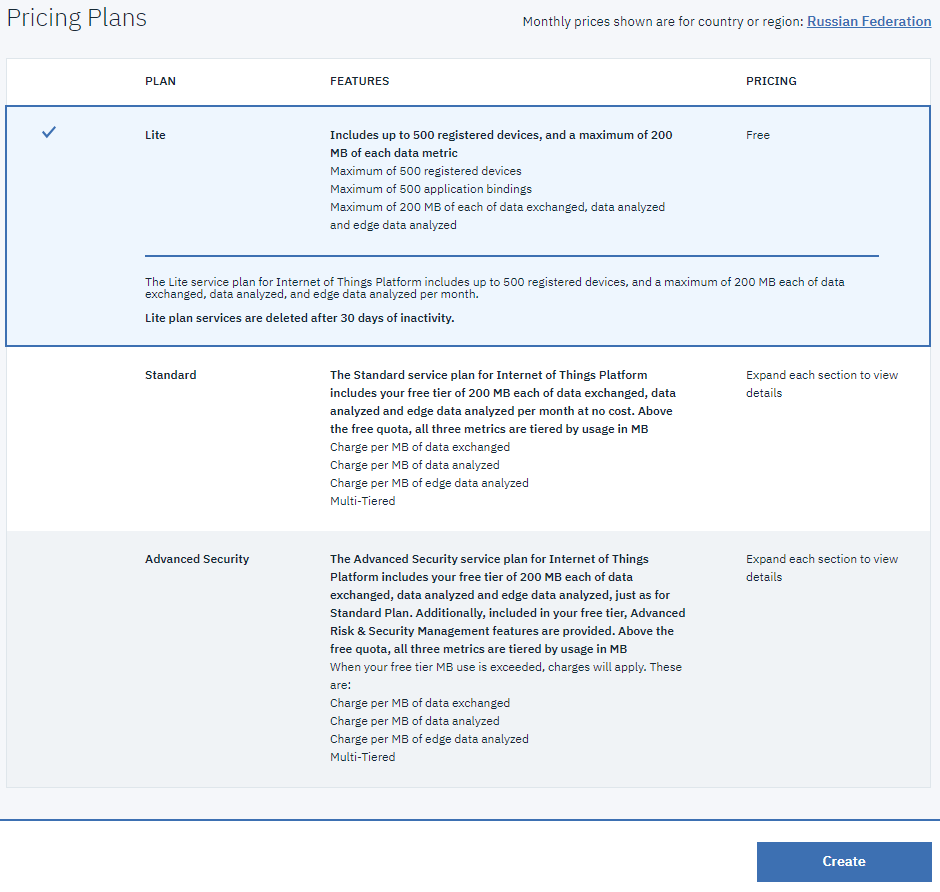
Free (Lite) plan of "Watson IoT" can be used for testing. It includes:
•up to 500 devices,
•up to 500 connections,
•monthly limits
oup to 200 Mb of traffic,
oup to 200 Mb of analized data
oup to 200 MB of locally analized data (Edge).
More:
•Watson IoT (in English)
Setting IBM Watson IoT
To connect to IBM Watson IoT platform, it is required: to get IBM Cloud (IBMid) account.
Creating IBM Watson IoT instance
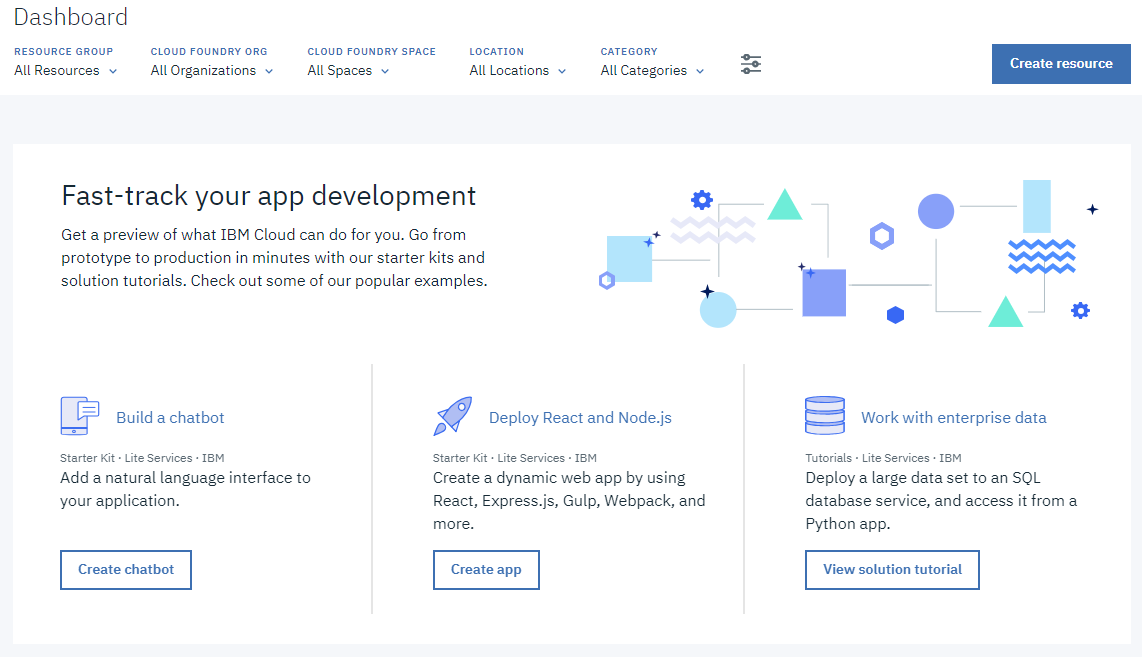
1. Enter your account and go to Dashboard. Click «Create Resource» button.
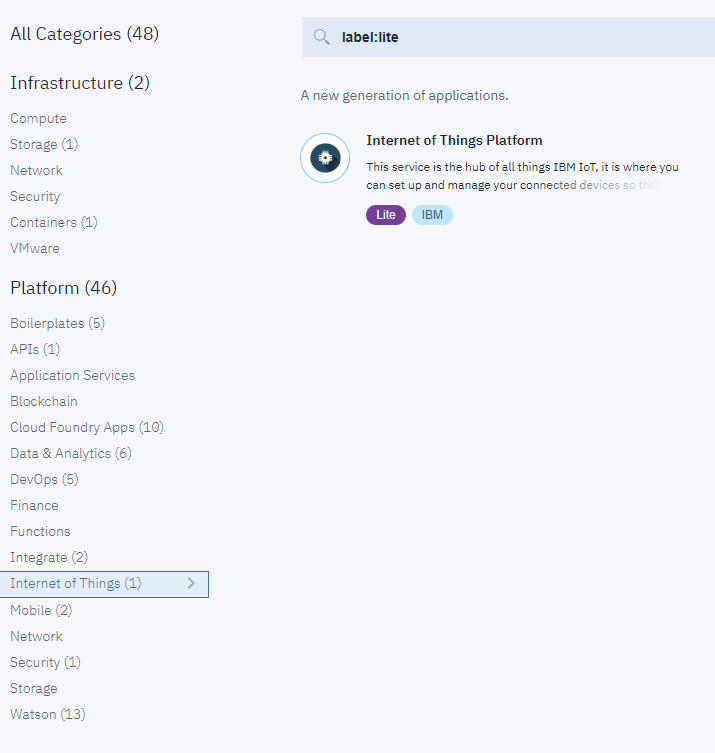
2. Select Internet of Things category and click Internet of Things Platform.
3. Select a region in the parameters, for example, US South (more functions are available for this region).
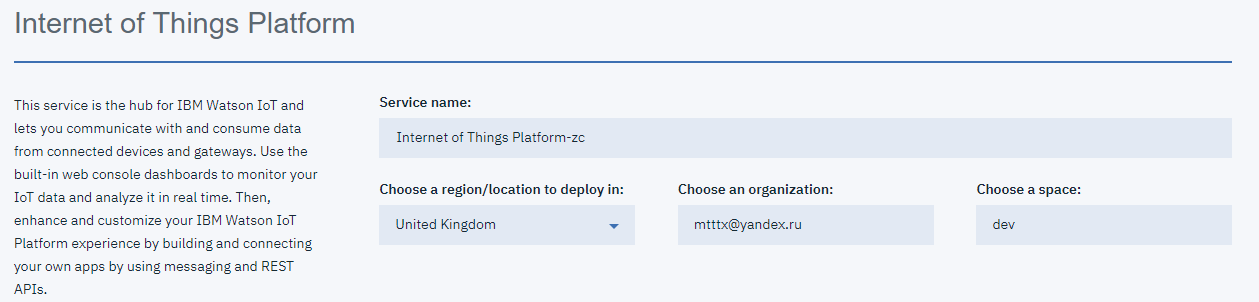
4. Select buying plan (for example, Lite) and click «Create» button:
5. The added service is displayed in the list on the dashboard. Click «Launch» button in the window that appears.
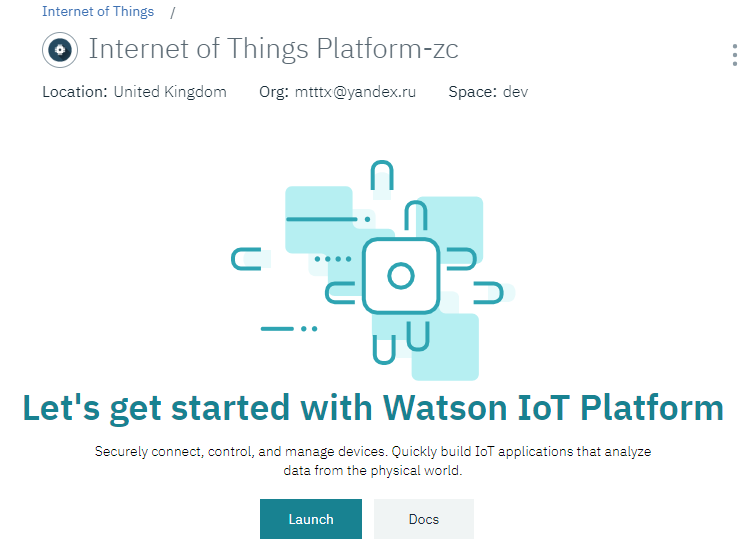
6. A panel to control IoT Platform opens in a new window.
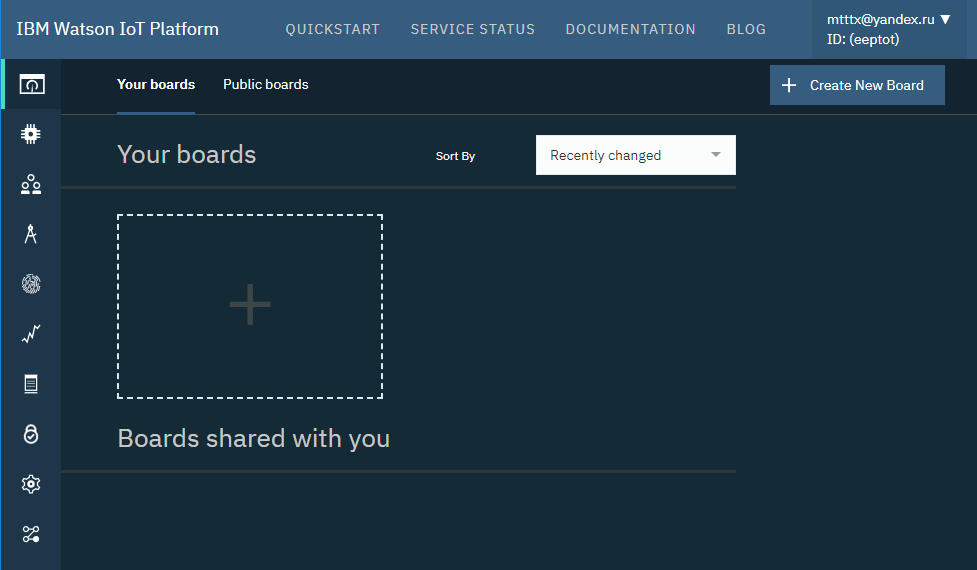
Adding devices
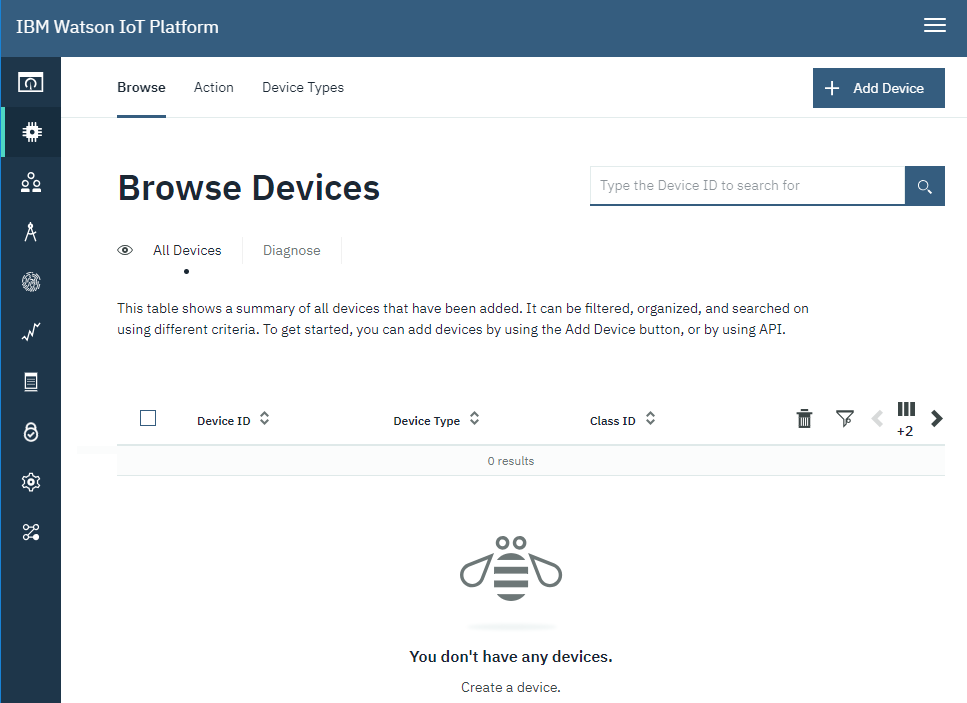
1. Go to Devices tab on the dashboard of IoT Platform.
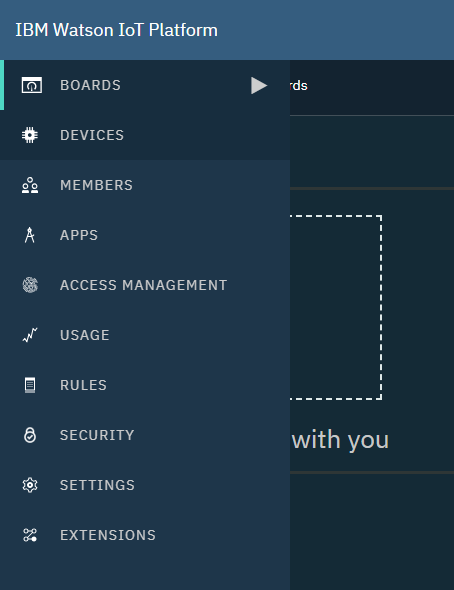
2. Click «Add Device» buttom to add a device.
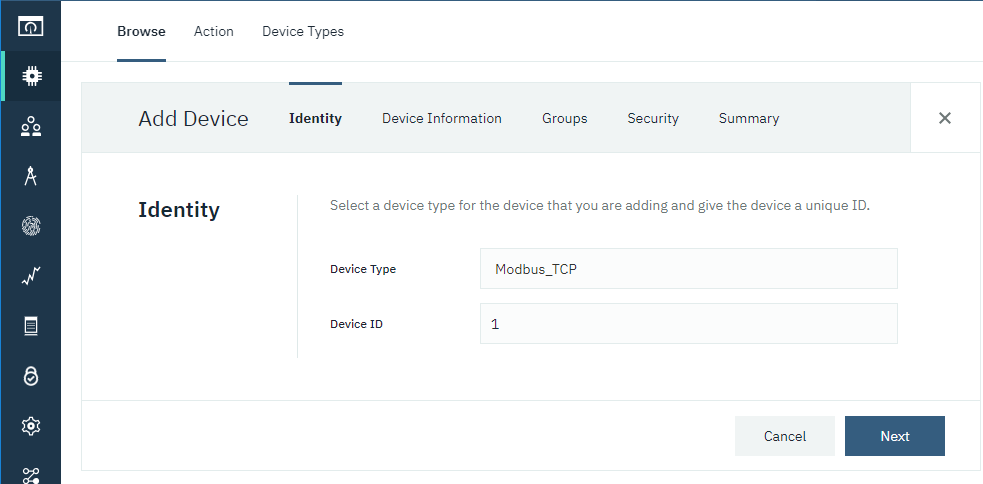
3. Set Device Type and Device ID in the window that appears and click «Next».
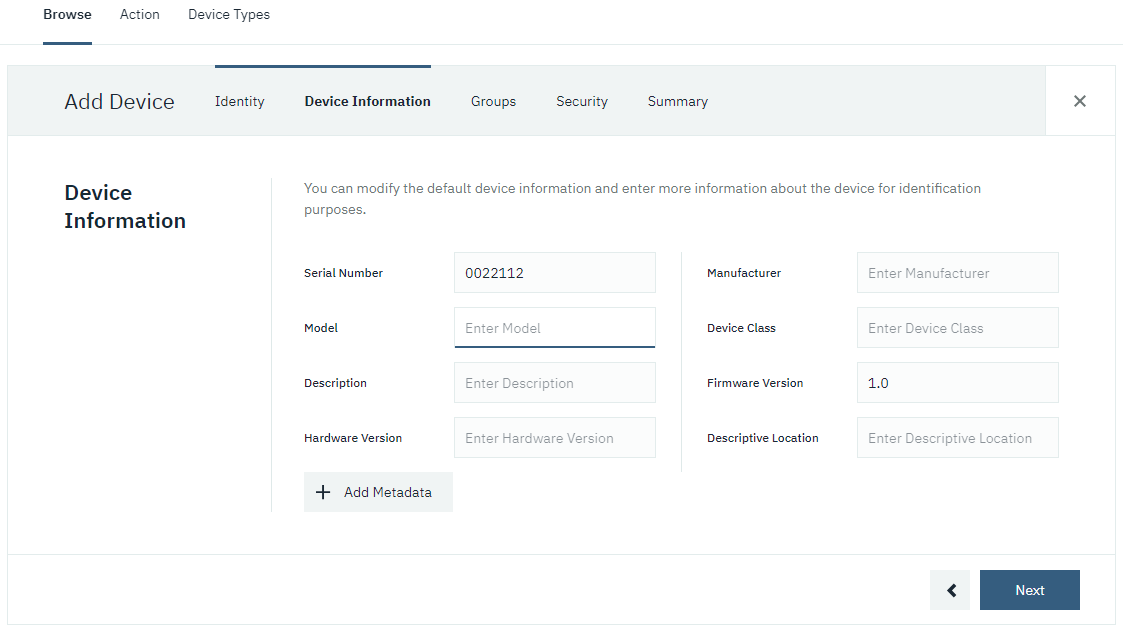
4. Enter information about the device and click «Next».
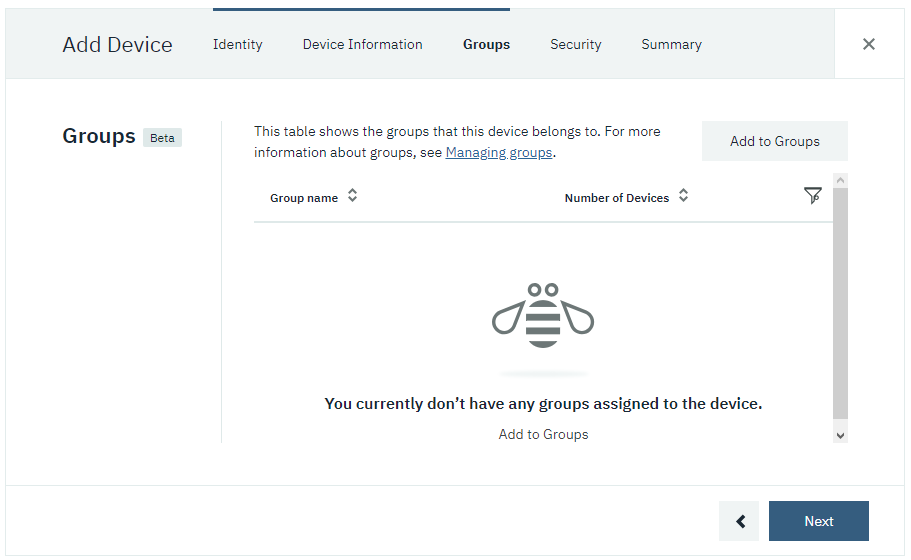
5. Add a group (you can skip this step), click «Next».
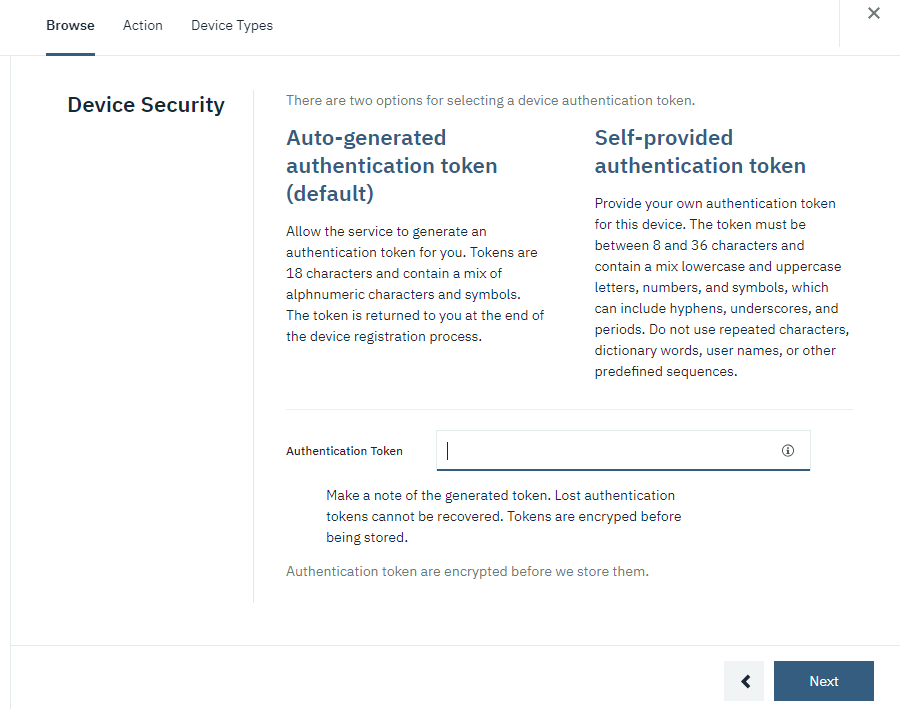
6. Create a token in Security window for authentification (if the fields is left empty, the token is generated automatically). Click «Next».
7. See the result of creating a device and click «Done».
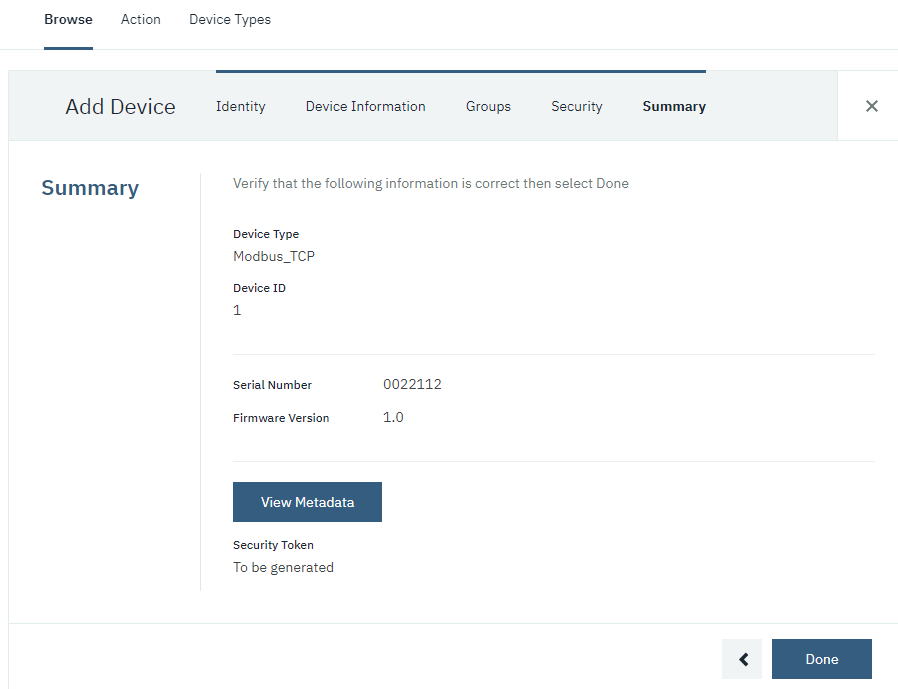
8. A message appears that a device was registered and you'll get information to connect the device to the platform. It the token field was left empty, you'll get an automatically generated token.

Authentification token (password) is given only once. Save it.
Setting MQTT publisher
1. Enable MQTT publisher. And setup it:
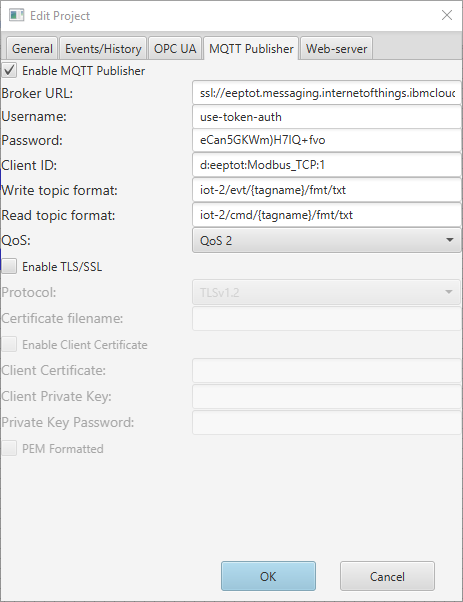
•Broker URL - address and port of the IoT cloud interface, it is coded the following way: ssl://<your_orgID>.messaging.internetofthings.ibmcloud.com:8883
•Username - login, use-token-auth fixed value must be entered here
•Password - created or generated Authentication Token
•Client ID - client identificator is coded this way: d:<your_orgID>:<your_Type>:<your_Device>
•Write topic format - format of writing tags in the topic: iot-2/evt/{tagname}/fmt/txt , {tagname} - name of tags in your project.
•Read topic format - format of reading tags in the topic: iot-2/cmd/{tagname}/fmt/txt, {tagname} - name of tags in your project.
•QoS - type of the MQTT message.
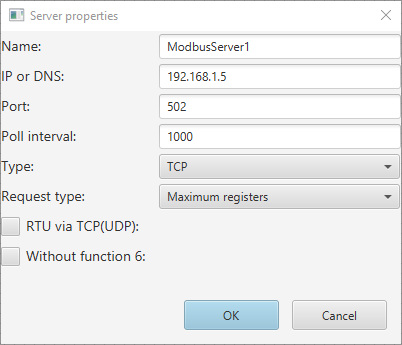
2. Create Modbus server and setup it:
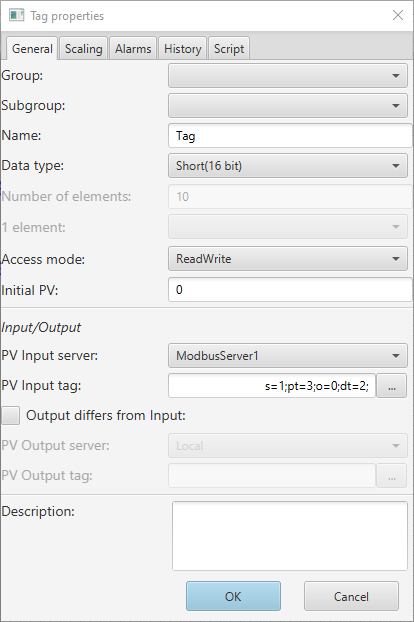
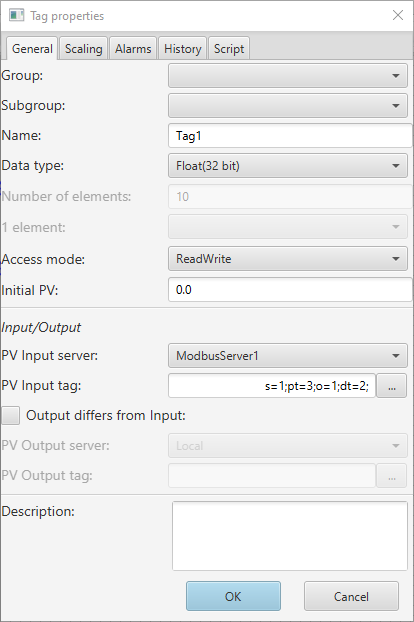
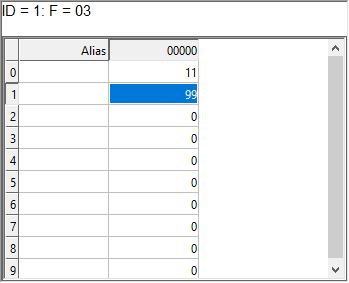
3. Create 2 tags and bind to 2 first registers.And setup it:
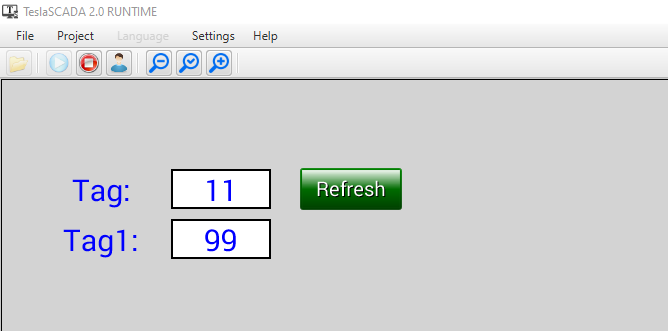
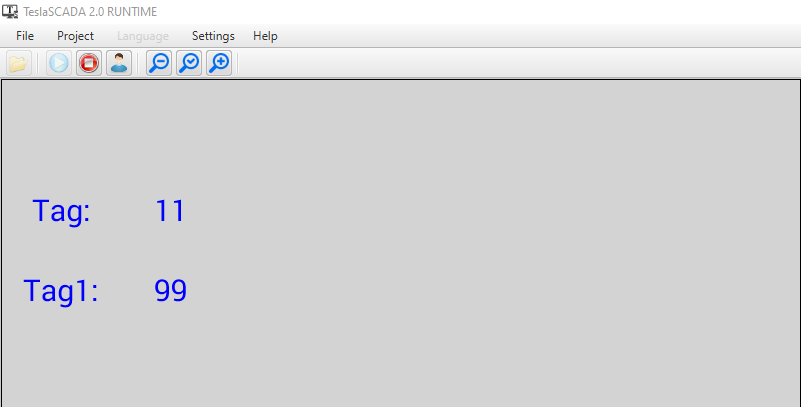
Now when you run this project in TeslaSCADA2 Runtime. It's connecting to the cloud and publish tags values in the cloud:
In the simulator:
In the project:
In the cloud:

Setting MQTT server
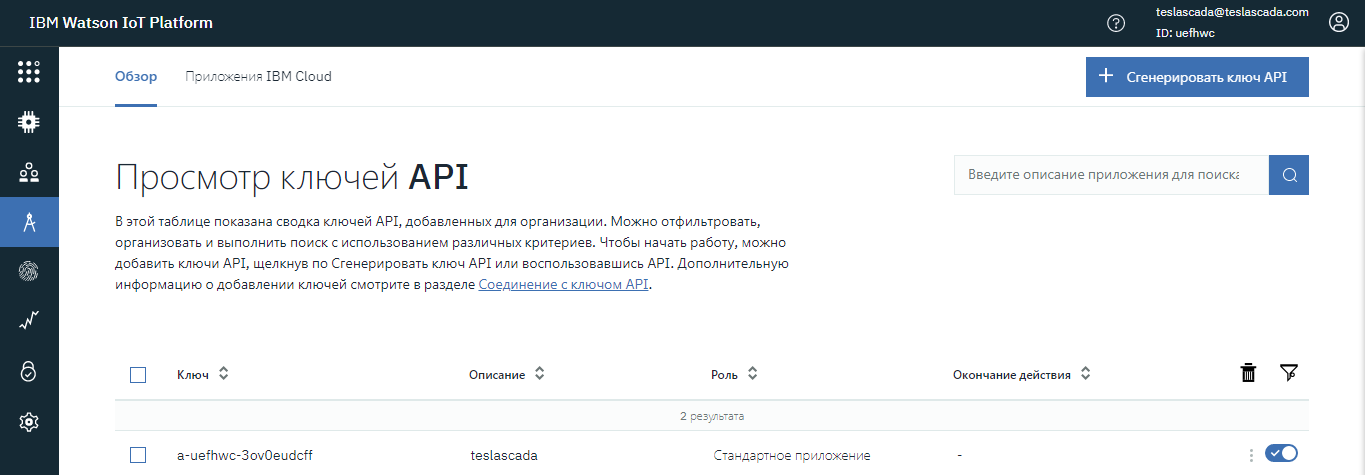
1. For getting information from the cloud we have to create Application in IOT Watson (russian language):
2. Now we can create MQTT server in the new project:
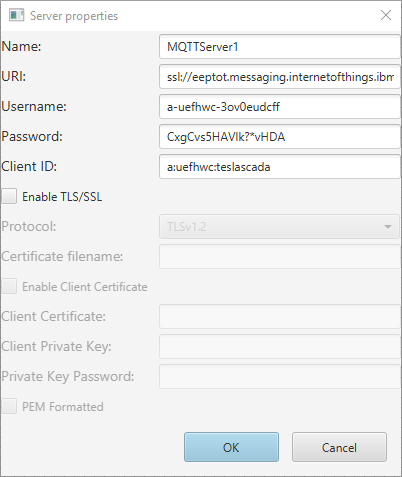
•URI - address and port of the IoT cloud interface, it is coded the following way: ssl://<your_orgID>.messaging.internetofthings.ibmcloud.com:8883
•Username - login, It is coded in the following way:
{api key} - you can see it in the picture. It contains a -{your_orgID}-{code}. In the picture other {your_orgID}. Should be eeptot.
•Password - created or generated Authentication Token
•Client ID - client identificator is coded this way: d:<your_orgID>:<name of the application>
3.Create 2 tags for reading from the cloud:
|
|
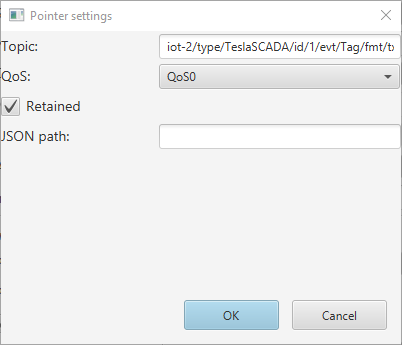
The format of the topic is interesting for us:
iot-2/type/{device_type}/id/{device_id}/evt/{event_id}/fmt/{format_string}
device_type - type of the device
device_id - ID of the device
event_id - name of the Tag you setup in project with publisher.
format_string - format of the topic.(txt in our case).
For writing topic should like this:
iot-2/type/{device_type}/id/{device_id}/cmd/{cmd_id}/fmt/{format_string}
4. In some reasons when you connect to IBM cloud and subscribe to the topics values are not renew.
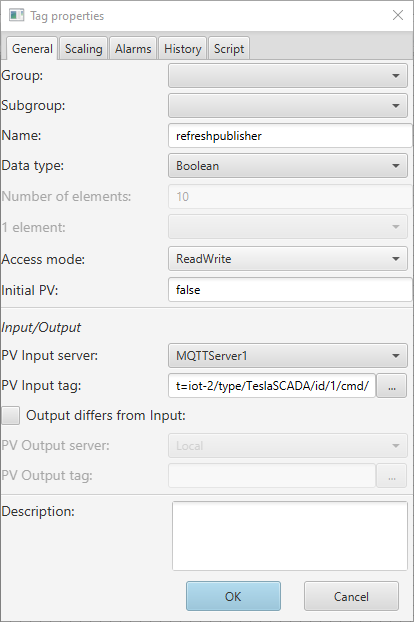
We create some possibility to renew values. You have to create tag in the MQTT to refresh publisher:
|
|
Topic should look like this: iot-2/type/TeslaSCADA/id/1/cmd/refreshpublisher/fmt/txt
cmd_id - refreshpublisher
5. After starting project with MQTT client and refresh values we'll get: