|
<< Click to Display Table of Contents >> MySQL Workbench |
  
|
|
<< Click to Display Table of Contents >> MySQL Workbench |
|
MySQL Workbench is a visual database design tool that integrates database design, modeling, creation and operation. Its capabilities will be useful to us for:
• backing up and restoring the database (also useful for transferring the database to another PC).
• settings for connecting to a remote database.
• changing the path of saving the database - "by default" is saved to disk "C".
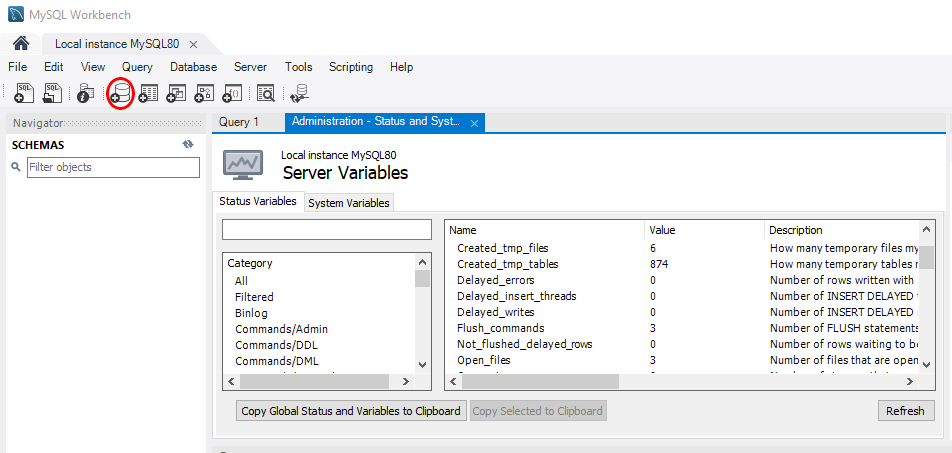
• viewing database statistics.
If the database was installed according to the instructions in the previous section, then MySQL Workbench was installed along with MySQL, otherwise it can be downloaded from this link: http://dev.mysql.com/downloads/workbench/
After starting MySQL Workbench, you need to select an instance of the MySQL server in order to connect to it. In our case, it is only one (local) - click on it:

Enter the root user password (which was invented when setting up MySQL):

After connecting to the MySQL server, we will see the start page:
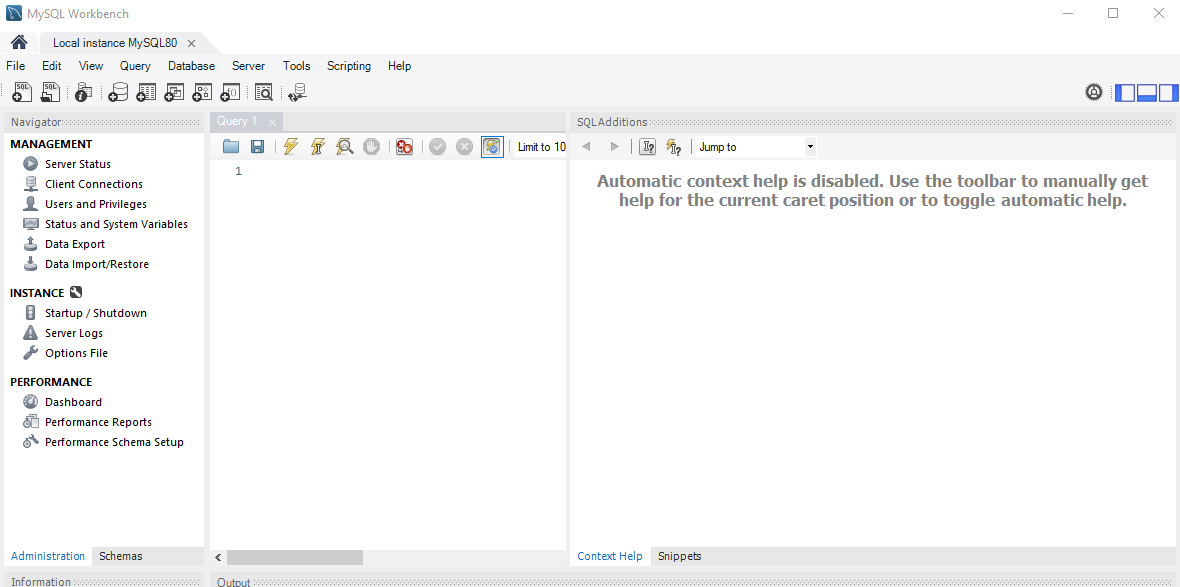
1. Administration - Settings of the MySQL server.
2. Schemas (Database area) - the list of created databases is displayed here. Also, when you first turn it on, test databases can be displayed here - they can be deleted by clicking on the name of the database with RMB - a pop-up menu will appear in which you need to select "Drop Schema".
You have to create database manually:
Open "Schemas" tab. Click "Create a new schema in the connected server" icon:
Enter "Name" of the schema and click Apply:

"Apply SQL script to Database" window will be appeared. Click Apply:

Then click "Finish":

If you get during the first running TeslaSCADA2 IDE or TeslaSCADA2 Runtime the Error message like this:

You can fix it in 2 ways:
1. Set global by SQL query (it's a temporary solution, after restart your MySQL server the problem will return).
To do this you have to setup time zone for your My SQL server to do this open MySQL Workbench and click icon "Create a new SQL tab for executing queries":

Enter: SET GLOBAL time_zone = '+3:00';
Where instead of '+3:00' you have to enter your time zone. And then click "Execute..." icon:

Now you can try Run TeslaSCADA2 project again in TeslaSCADA2 IDE or in TeslaSCADA2 Runtime.
2. Change my.ini (Windows) or my.inf (Linux) file.
2.1 Find my.ini or my.inf file. It's an initialization file for MySQL server. Usually it's placed in C:/ProgramData/MySQL/MySQL Server 8.0/:

2.2. Open file my.ini and add this line: default-time-zone='+03:00' Where instead of '+3:00' you have to enter your time zone.
2.3. Save file (your current user should have access to this folder).
2.4. Restart your MySQL server.
Now you can try Run TeslaSCADA2 project again in TeslaSCADA2 IDE or in TeslaSCADA2 Runtime.
Settings required for connecting to a remote database

1.Select the item "Users and Privileges".
2. Select the user "root".
3.In the "Limit to Hosts Matching" field, enter "%".
4. Save the changes by clicking the "Apply" button.
Now you can connect to the database from a remote PC.
Changing the database save path
To change the path for saving the database, you should do the following:
• stop the MySQL service via Windows services.
• move the entire "data" directory from the current location (by default "C: \ ProgramData \ MySQL \ MySQL Server 5.x \ data") to a new one (cut - paste).
Next, you need to run MySQL Workbench "as administrator" and change the "datadir" parameter to a new location for the data directory:
