|
<< Click to Display Table of Contents >> MySQL Database |
  
|
|
<< Click to Display Table of Contents >> MySQL Database |
|
To work with MySQL databases you have to install it on your PC. This chapter provides a step-by-step overview of the MySQL database installation process on Windows PC - this does not require special skills and knowledge, everything is quite simple. TeslaSCADA2 works with MySQL versions 5.6.2 and higher. The current MySQL version can be found on the official download page: https://dev.mysql.com/downloads/windows/installer/
Important! On Windows 7 x32 only MySQL 5.7.25 can be installed.
After going to the download page at the bottom you can see the "MySQL Installer" block - click "Download":

To download MySQL without registration, click on the link "No thanks, just start my download":

After the download is complete, you should make sure that the components necessary for installing MySQL are installed on the system:
• Microsoft .NET Framework 4.5.2
• Microsoft Visual C ++ Redistributable for Visual Studio 2015
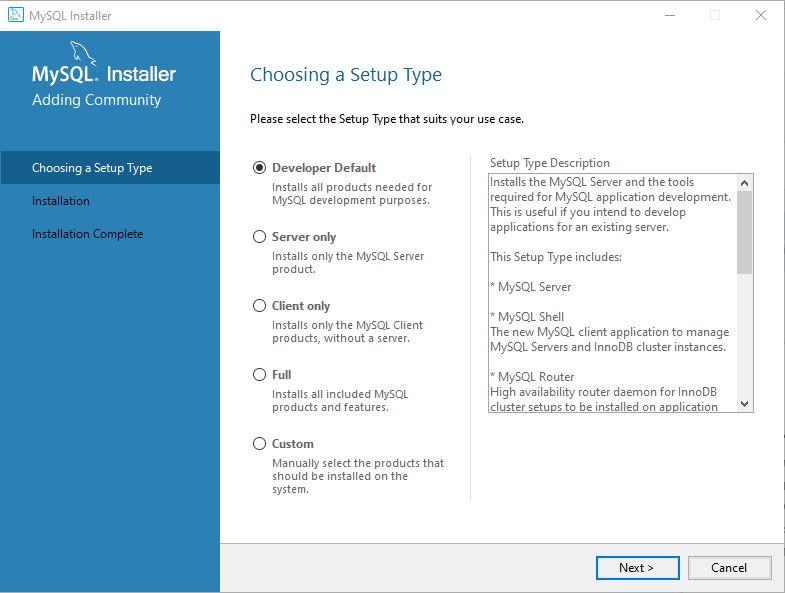
We select the default installation type "Developer Default" and click "Next":
Next, the installer will show a list of components in the "For Product" column and a list of software required to install them in the "Requirement" column. For example, this list might include MySQL Workbench if Microsoft Visual C ++ Redistributable for Visual Studio 2015 is not installed on the system. If you ignore the warning and continue with the installation, MySQL Workbench will not be installed. To install Microsoft Visual C++ Redistributable for Visual Studio 2015 click "Execute". Installation of other components is not required - you can continue the installation by clicking "Next":

A warning will appear - press "YES":

Then the installer will show you what exactly it will install, click "Execute":

Important! If during the installation MySQL Server does not install with the error "This application requires Visual Studio 2015 Redistributable. Please install the Redistributable then run this installer again", then you need to install the 32-bit package Microsoft Visual C ++ Redistributable for Visual Studio 2015 (vcredist_x86) even if you are using a 64-bit operating system.
The installation process begins. After installing all the components, the "Next" button will appear, click it:

Next, you need to configure the MySQL server, click "Next":

Select the "Standalone MySQL Server / Classic MySQL Replication" item and click "Next":

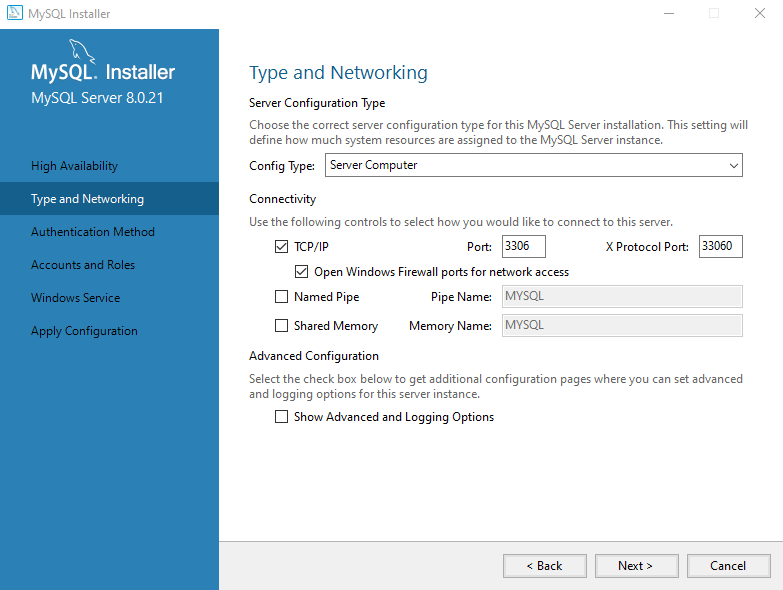
Next, in the "Config Type" parameter, select "Server Computer" and click "Next":
Select "Use Strong Password Encryption for Authentication" and click "Next":

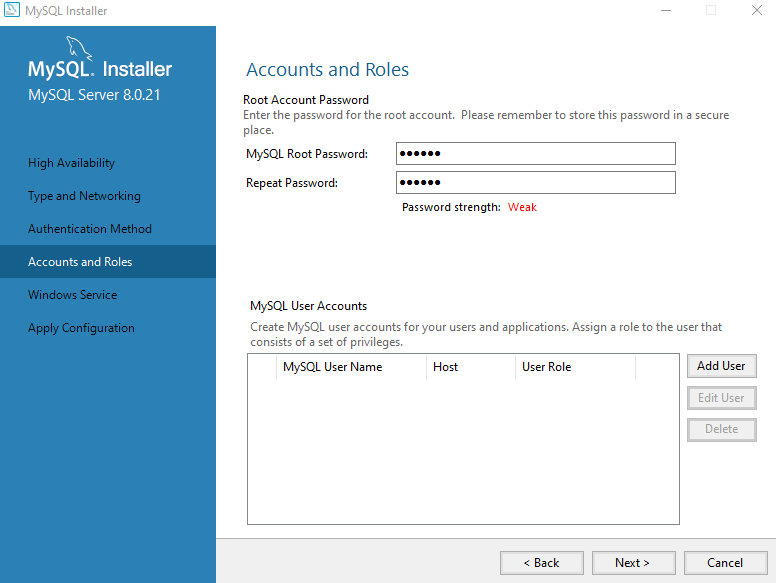
In the next window, you need to set a password for the root user (administrator). Also, here you can add other users (by clicking the "Add User" button), if necessary. After entering the password, click "Next":
At the next step, we leave all the default settings, click "Next":

Next, you need to apply the MySQL server settings by clicking "Execute":

MySQL server is configured, click "Finish":

Next, let's move on to configuring MySQL Router. Click "Next":
Leave all the default settings and click "Finish":

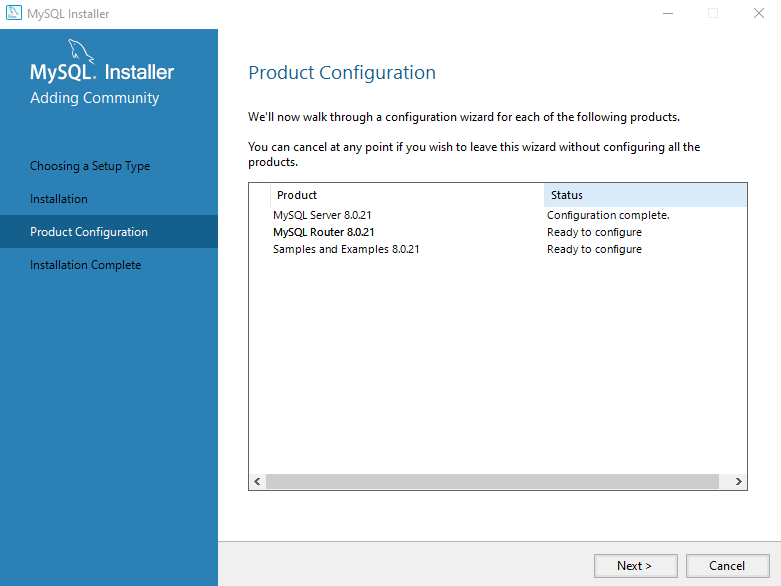
Now you need to check the created database, click "Next":

Check the connection. Enter the password, click "Check", then click "Next":

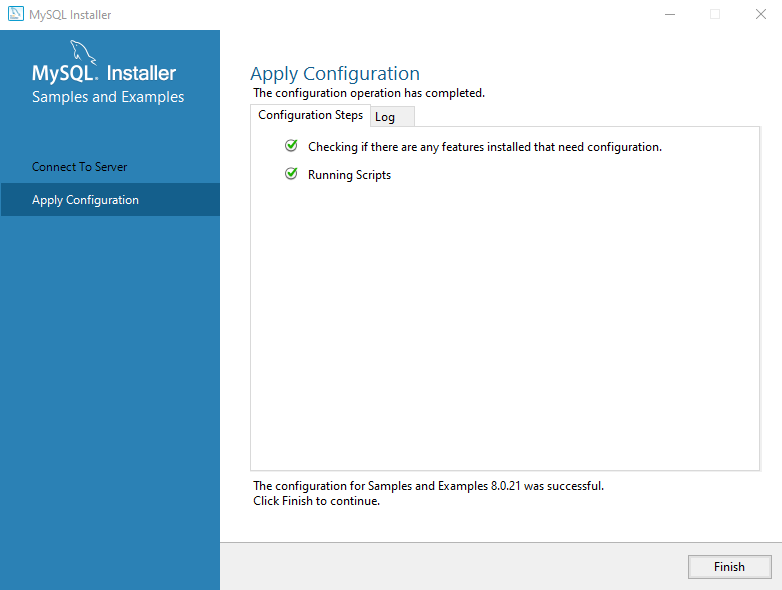
Next, click "Execute" and then "Finish":

Installation is almost complete, click "Next":

Installation is complete - click "Finish". If you check the "Start MySQL Workbench after Setup" box, the MySQL Workbench program will start, in which you can make additional database settings.
You have to create a database in MySQL server by using MySQL Workbench manually. After creating database you can use it for collecting event and history information. To do this open Project properties and in Event/History tab setup My SQL database by using jdbc:mysql: at the beginning of the Events DB name and History DB name:

In our case it's: jdbc:mysql://192.168.1.6:3306/test
where:
•jdbc:mysql: - beginning for MySQL.
•192.168.1.6:3306 - IP address and port.
•test - name of the database (created in MySQL Workbench).
Also you can use My SQL database in Databases - Recipes and History DB. To do this in Db name of the database use jdbc:mysql: at the beginning also.
Important! If you get during the first running TeslaSCADA2 IDE or TeslaSCADA2 Runtime the Error message like this: "java.sql.SQLException: The server time zone..." , you have to setup time zone for your My SQL server, to do this open MySQL Workbench.